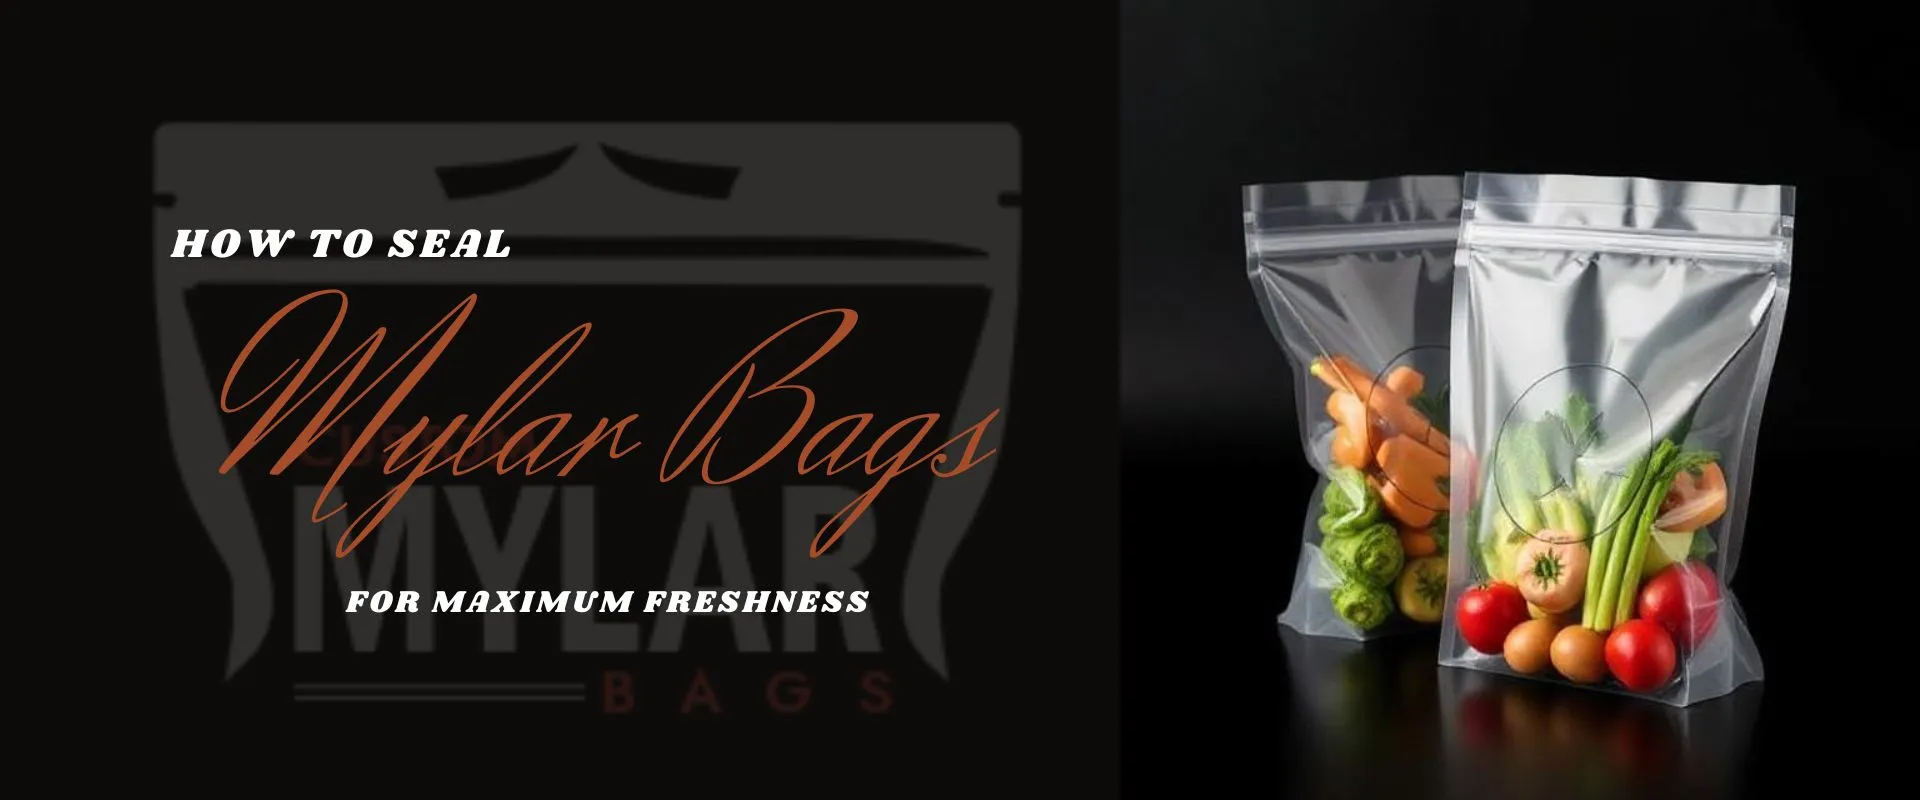
How to Seal Mylar Bags for Maximum Freshness: A Comprehensive Guide
March 14, 2025 Uncategorized
Mylar bags are the gold standard for long-term food storage and are a very effective barrier against oxygen moisture and light. Mylar Bag Safety Whether you’re storing grains dehydrated fruits, or emergency food supplies keeping your Mylar bags sealed is crucial to keeping things fresh and extending shelf life. In this guide we will review the best methods for sealing Mylar bags, discuss vacuum sealing list the tools and materials you will need and offer a step-by-step guide on how to achieve a perfect seal every time.
What is the Best Way to Seal Mylar Bags?
The most dependable and common approach to heat seal Mylar bags is to use an impulse (heat) sealer. It uses a quick blast of heat to melt the edges of your bag together to create a strong consistent seal that keeps your food fresh and air out. Even temperature is distributed which guarantees the seal is tight keeping your stored items safe from air and moisture.
Benefits of using a heat sealer:
Consistency: Offers consistent seals each time decreasing the chances of weak areas.
Less Time Required: you can seal more bags I a short while.
Reliability: Provides a secure bond suitable for long-term storage environments.
Although these clips can be sealed using other methods a clothes iron is one this usually takes more time and practice to get a good seal.
Do Mylar Bags Need to be Vacuum Sealed?
Do you absolutely need to vacuum seal Mylar bags? In the majority of situations the answer is no. there is no need for vacuum sealing. Mylar bags have barrier properties that prevent oxygen and moisture from getting in. In combination with oxygen absorbers the bags can create an atmosphere that significantly extends the freshness of stored food.
Things to think about with vacuum sealing:
Oxygen Absorbers: These little packets suck oxygen out of the bag working together with the Mylar’s barrier properties to halt spoilage.
Additional Barrier: Although vacuum sealing extracts a great deal of air it’s not vital for most types of storage. But if you have sensitive goods (or you just want another layer of protection) you might have the option to run your items through a vacuum sealer as an additional step.
Food Saver Compatibility: Can you use a FoodSaver vacuum sealer for my Mylar bags? Some have attempted this but FoodSaver machines generally do not produce the necessary heat or pressure needed to properly seal thicker Mylar material and are primarily designed for thinner plastic bags.
The most fool-proof method for keeping things fresh for extended periods is a heat sealer and oxygen absorbers.
Why Proper Sealing Matters
Sealing your custom Mylar bags properly is very important for a number of reasons:
Oxidation Prevention: Rancidity nutrient loss and spoilage of stored foods occur from exposure to oxygen.
Moisture Control: A vacuum creates an air-tight seal that prevents moisture from entering the bag which is essential for eliminating mold and bacterial growth.
Pest Deterrent: Sealing properly helps keep bug and other creatures who may want to eat your food out.
Why Mylar Bags: Shelf Life Extension: When stored correctly, foods can have a shelf life of several years which is why Mylar bags are often used for emergency preparedness and long-term storage.
Nothing is more important to a successful storage system than a good seal — the quality and safety of what you are storing depends on it.
What We Need To Seal Mylar Bags
Consider the following tools and materials before you get started:
Impulse (Heat) Sealer: The main tool for sealing your Mylar bags so they are airtight.
Mylar Bags: Durable bags for long-term storage.
Oxygen Absorbers: This type of packet removes oxygen from inside the bag to make the contents fresher.
Food Items or Products: Whatever you plan to store dehydrated food grains and so forth.
Optional Clothes Iron: If you don’t have a heat sealer a clothes iron on low heat can be utilized to seal the bag instead. Line the bag with a sheet of parchment to save it from sealing
Flat Clean Surface: Provides a flat surface to work with so you can maintain a consistent sealing process without interruption.
The right tools at your disposal streamline the entire process and enhance the efficiency of your seal.
How to Seal Mylar Bags: A Step by Step Guide
With that in mind if you want to make sure your Mylar bags are sealed tightly for the best shelf life possible then you can follow these steps:
1. Prepare Your Workspace
Clean and Dry: Ensure your work surface is clean and free of debris.
Arrange Materials: Lay out your Mylar bags, oxygen absorbers, and food items in an organized manner.
2. Fill the Mylar Bag
Add Contents: Place the food or items you wish to store inside the Mylar bag.
Insert Oxygen Absorber: Immediately add the appropriate oxygen absorber to the bag. The size and type of oxygen absorber depend on the volume of the bag and the specific food item.
3. Remove Excess Air
Manual Squeeze: Gently squeeze the bag to push out as much air as possible. This step is critical even if you’re not using a vacuum sealer.
Optional Vacuum Sealing: If you have a vacuum sealer you can use it as an additional step. However, for most applications with Mylar bags this isn’t necessary.
4. Seal the Bag with a Heat Sealer
Position the Sealer: Place the open end of the bag between the heated sealing bars of the impulse sealer.
Activate the Sealer: Close the sealer for a few seconds until the adhesive on the Mylar bag melts and fuses together.
Cool Down: Allow the seal to cool and set for a few moments before moving the bag.
5. Inspect the Seal
Check for Gaps: Run your fingers along the seal to ensure it is consistent and free of gaps or bubbles.
Re-Seal if Needed: If you notice any imperfections, reapply heat to create a stronger seal.
6. Label and Store
Label the Bag: Write the date and contents on the bag using a permanent marker.
Store Appropriately: Keep your sealed Mylar bags in a cool, dark, and dry place for optimal longevity.
Comparison of Sealing Methods
The table below provides a visual comparison of different sealing methods based on three key factors: Seal Reliability, Ease of Use, and Overall Effectiveness. Each method is rated on a scale from 1 to 10, with higher scores indicating better performance.
| Sealing Method | Seal Reliability | Ease of Use | Overall Effectiveness | Comments |
| Heat Sealer | 10 | 9 | 10 | Provides a strong, consistent, and reliable seal. |
| Vacuum Sealing (FoodSaver) | 5 | 8 | 6 | May not generate enough heat for Mylar; best used for thinner plastic bags. |
| Manual Sealing (Clothes Iron) | 6 | 5 | 6 | Unpredictable; requires practice for a consistent seal. |
This table clearly illustrates that a dedicated heat sealer is the top choice for sealing Mylar bags for long-term storage.
Common Mistakes to Avoid Them
Sealing Mylar bags may seem simple but here are some common mistakes which we avoid:
Insufficient Air Removal: Not removing enough air can cause oxidation and spoilage. And always squeeze as much air out as you can before sealing.
Not Enough Seal Time: Take your time sealing. Make sure the heat sealer runs long enough to create a proper seal.
The Wrong Tool: Do not use a FoodSaver as your main Mylar bag sealing tool. All FoodSaver machines are made for thin plastic bags so they will not give a proper seal on thicker Mylar.
Oxygen Absorbers with Improper Handling: Put it in the bag right after filling. Delays can allow oxygen to enter which diminishes the potency of the absorber.
Bag Overloading: Overstuffing can obstruct the bag from sealing. Leave plenty of margin on top in order to make a good seal.
Just by being aware of these common pitfalls you will improve the lifespan and efficiency of your stored goods.
Also Read: A Complete Guide to Grow Business with Hemp Packaging
Best Practices for Long-Term Storage
To keep your food or items fresh for a long time consider these best practices:
Cool, Dry Storage: Store your sealed Mylar bags in a cool dry and dark place to avoid temperature changes and exposure to moisture.
Routine Monitoring: Check both the seals periodically as well as the oxygen absorbers. Replace any bags that look worn or with a compromised seal.
Use proper labels: Make sure to label the bags and include the date when the food is sealed. This allows you to monitor the duration that the items remain on the shelf.
Use High-Quality Tools: Mylar bags are available to be purchased and a decent heat sealer will go a long way. Using the wrong materials can significantly shorten your storage solution’s lifespan.
Backup: For longer-term preservation (think years) it’s wise to have a secondary containment method like putting the vacuum-sealed bags inside a rigid plastic container.
Following these practices will help ensure the freshest and longest-lasting goods in storage.
Can You Seal Mylar Bags with a FoodSaver?
Although it may be easy and tempting to grab a Food Saver know that FoodSaver machines are made more for thin plastic bags. They usually lack the heat or pressure needed to reliably seal thicker Mylar material.
Key Points:
Not Strong Enough Seal: The sealing bar in a FoodSaver may not get hot enough to effectively melt Mylar leaving behind a weak or incomplete seal.
Workaround: A few users have managed to fit the Mylar bag inside of a FoodSaver bag and then seal. However, it is not a very reliable method as compared to dedicated impulse heat sealers.
Tip: For optimal freshness and a reliable seal you’ll want to invest in a acid-free Mylar bag heat seal and storage tool.
FAQs
Q1: What is a Mylar bag made of?
A: Mylar bags are generally composed of a polyester film with a metal coating. Oxygen, moisture and light barrier properties are great with this material.
Q2: After I open Mylar bags can I use them again?
A: The seal may be ruined once opened so make sure to start from a new bag if you want to get the most out of your beans.
Q3: What shelf life can foods stored in well-sealed Mylar bags achieve?
A: Shelf life however can differ depending on the food type and storage conditions.
Q4: Do I have to have an oxygen absorber each time I seal a Mylar bag?
A: For long-term food storage, oxygen absorbers are strongly recommended. They assist with the exclusion of residual oxygen that could cause spoilage.
Q5: How about if I don’t have a heat sealer?
A: You can use either an iron if you don’t have a heat sealer. Make sure you put a parchment paper between the Mylar bag and the iron. Use low heat setting. This step does take practice and is not always accurate just keep that in mind.
Q6: Can I seal Mylar bags with a FoodSaver?
A: No, FoodSaver machines are not compatible with Mylar bags. They are designed for thinner plastic bags and although there is a hack that can be used, it is not the best option for keeping food fresh.
Conclusion
A good proper sealing of the Mylar bags is an essential part of ensuring that the food and other items that you are keeping in store stays fresh and the quality of these items does not go down. If air, water, and pests are the enemies a good impulse heat sealer, oxygen absorbers, and long-term storage best practices are the friends that will help you defeat the enemies and preserve your supplies. Vacation sealing while always an appealing thought is not necessary if you have a good sealing process. Steer clear of common pitfalls like overfilling under-airing and improper sealing technique and you’ll have a reliable system that preserves stored goods for years.”
Whether it’s for keeping your food supplies as well-preserved as possible or for emergencies spending a bit of extra time to correctly seal your Mylar bags and to invest it high quality materials will pay off in the long run.
Happy sealing — and here’s to freshness for the long haul!
Also Read: What Is Smell-Proof Mylar Bags: Sizes, Materials, & Top Styles
Categories
Recent Posts

27 / August , 2025 Uncategorized

27 / August , 2025 Uncategorized

27 / August , 2025 Uncategorized

27 / August , 2025 Uncategorized


13 / March , 2025 Uncategorized

4 / March , 2025 Uncategorized

28 / February , 2025 Uncategorized

28 / February , 2025 Uncategorized

21 / February , 2025 Uncategorized

27 / January , 2025 Uncategorized